


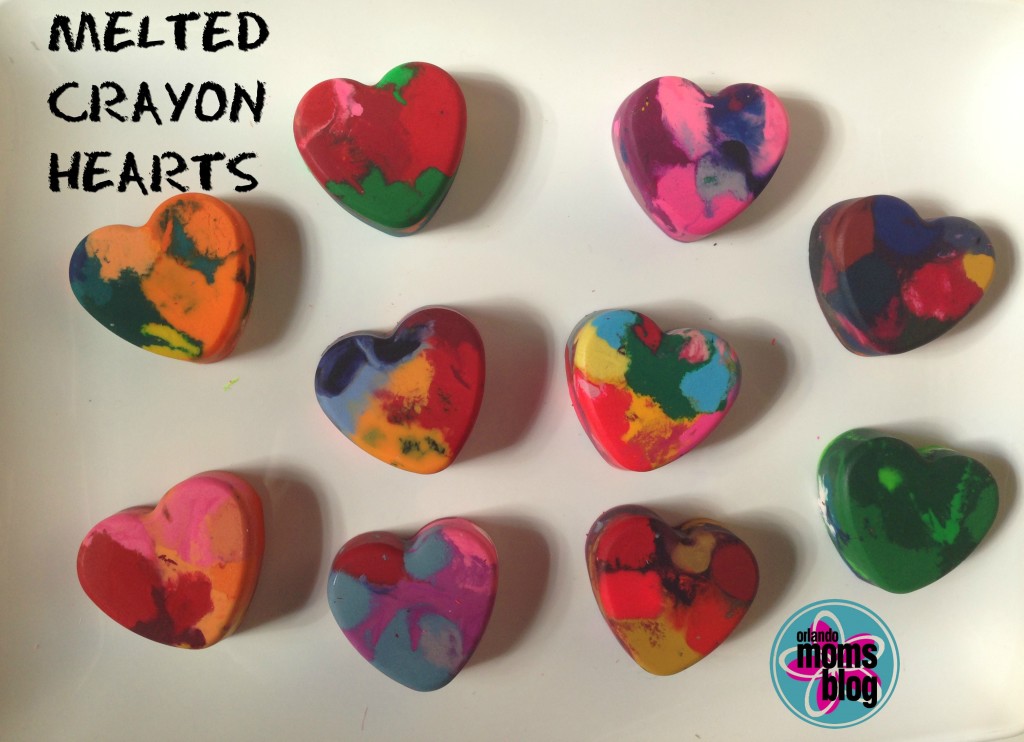
We are lovers of coloring in our house, and with that, there is definitely no shortage of crayons. In fact, our favorite bedtime stories lately also involve some rather silly tales of crayon friends who quit their jobs and then decided to come home. So, when I began brainstorming ideas for my little one’s Valentines for his classmates this year, a DIY melted crayon craft seemed like the perfect fit.
Since this was to be Valentine’s Day project, I chose a heart-shaped silicon mold, but you could use any shaped mold you want. Just make sure it’s oven safe. Generally, the silicon candy molds are a great choice for this craft. After melting crayons in it, though, I personally would not recommend using it for food products afterward. While the crayons do pop right out after cooling, there is a smidge of wax residue that remains.
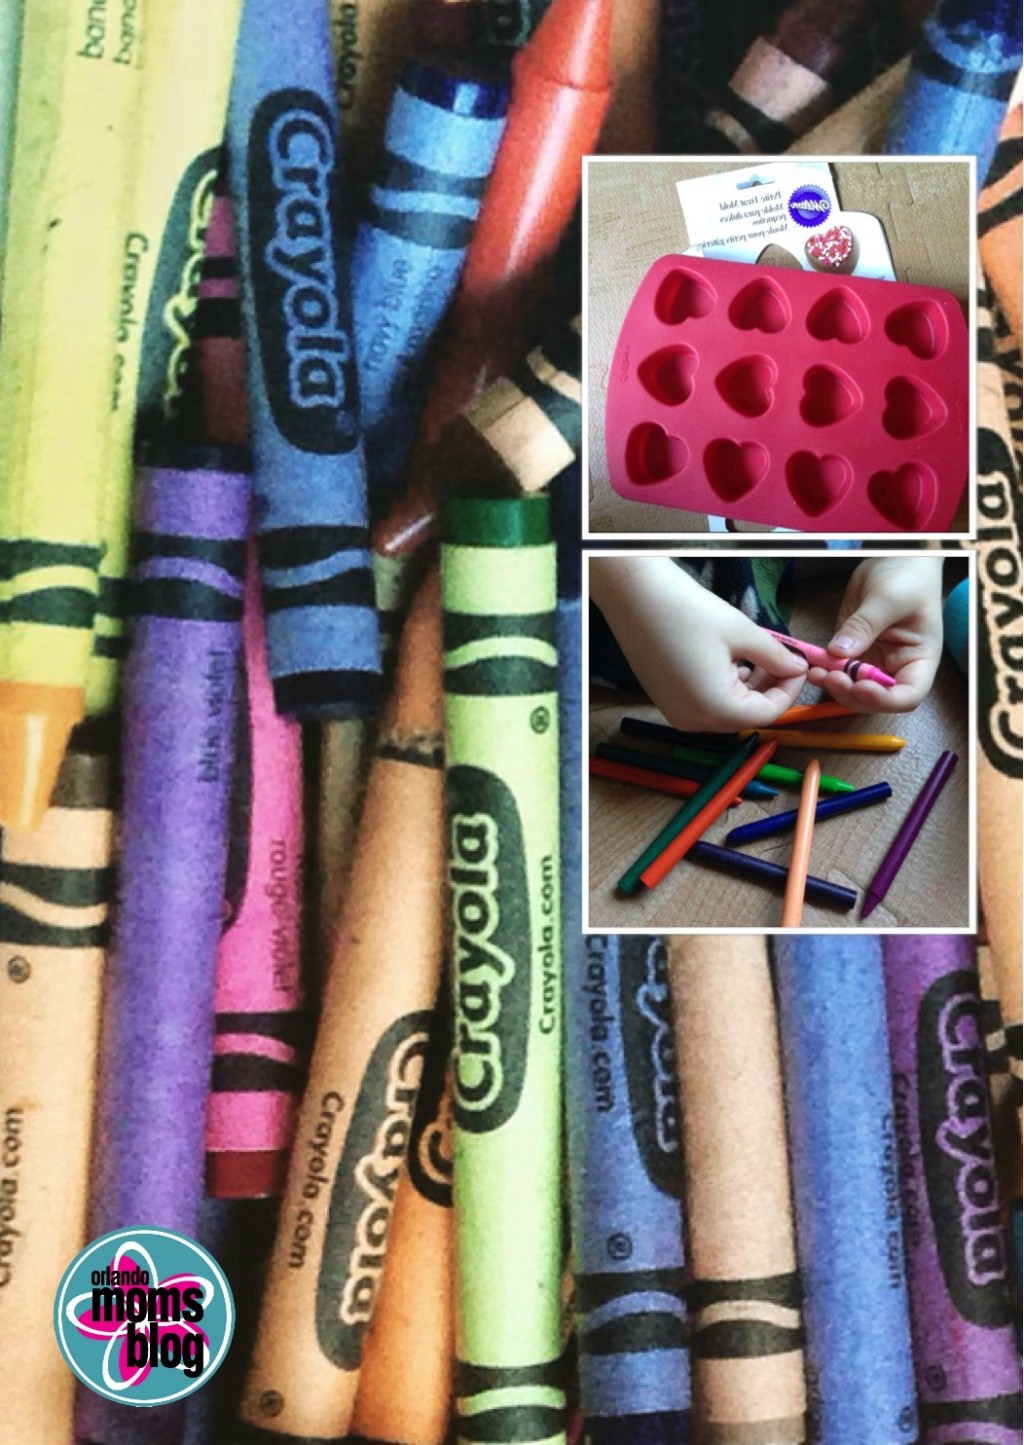
We had a large box of extra crayons hanging around the house that I used, and it was great to not have to buy any new ones for this project. Depending on how many melted crayons you wish to make, I would say you need to have at least 50 crayons. We used closer to 75 and made 24 melted hearts.
Let’s get started:
- Preheat oven to 230 degrees F
- Remove the wrappers from all crayons. If you have an X-Acto knife, it comes in handy here. Carefully make a slit down the side of the crayon, and the wrapper will come right off. My hubby and I did the cutting and passed the crayon to our preschooler to unwrap. It was a great way to keep him involved and helping!
- Using a sharp knife or an X-Acto knife, cut the crayons into small pieces. They will melt better and more uniformly when the pieces are as close to the same size as possible.
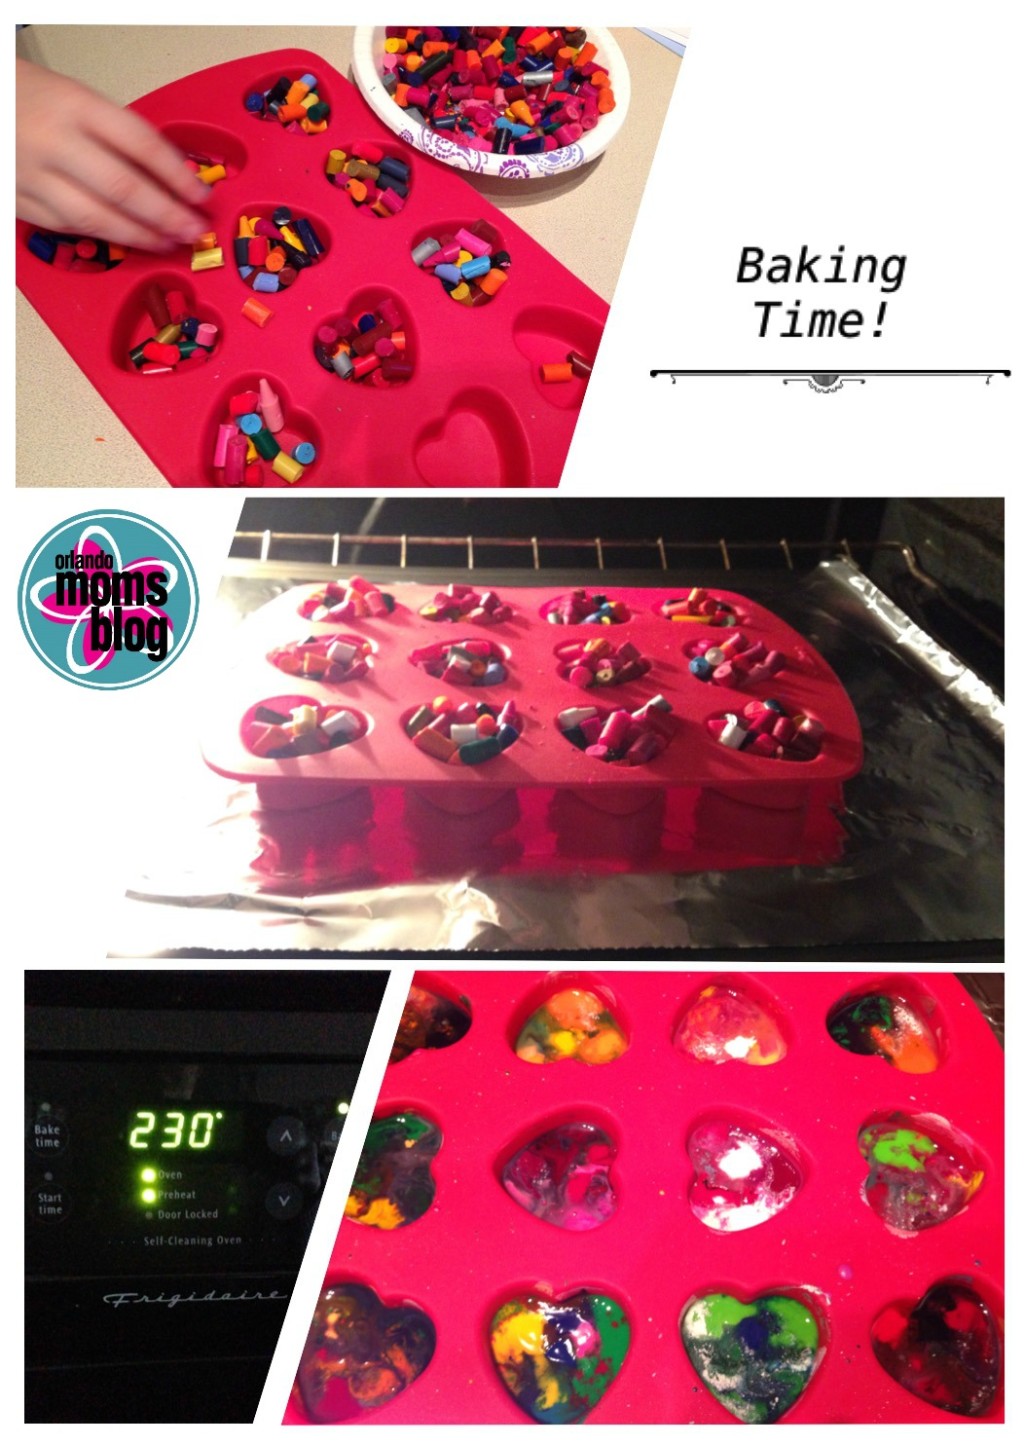
- Fill the molds with the crayons. Be sure to fill the molds all the way, so the crayon fully takes the silicon shape as it melts down. No need to spray or coat the molds with anything….promise!
- As you are filling them, you can either mix all the colors together or sort them by similar colors (i.e., yellows & greens, pinks & reds). I did a little of both, and I think they all turned out great!
- Bake at 230 degrees for at least 15 minutes. Oven temperatures vary so watch the molds. Once all the crayons are melted pull them out! The longer they cook once all melted, then the more the colors will begin to mix together. My oven took 20 minutes to cook my Wilton brand mold & crayons.
- Allow crayons to cool completely and harden before removing from the mold. Once cooled, they will pop right out!
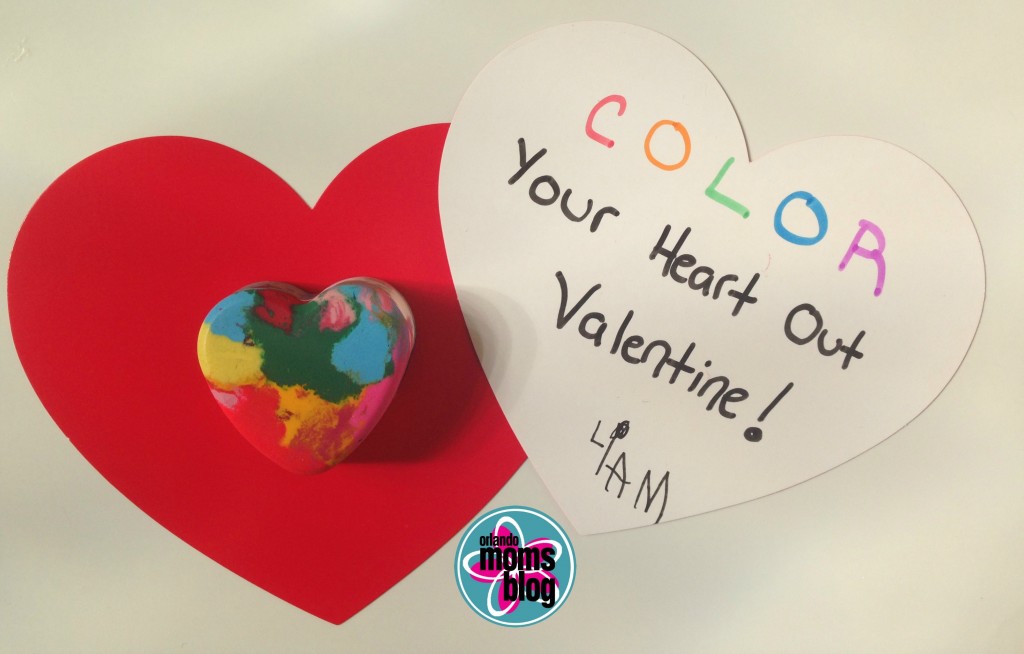
The finished product is so cute alone, you could really just wrap them in a cellophane bag with a ribbon & gift them as is. Super easy! I had picked up some heart-shaped card stock from the dollar spot at Target (my weakness) and found a few really cute sayings on Pinterest that were Valentines themed. We chose this one: Color Your Heart Out Valentine. I wrote that on each card, and my little guy (who recently learned to write his name) signed his own name this year (we are super excited about that). I used a small piece of tape to attach the crayon heart to the back side.
My little guy said he cannot wait to give these to his friends at school on Valentine’s Day. He has also declared that the green mixed heart is his! I would say that this project was a success, and it was a lot of fun for our whole family. It definitely was one that we all worked on together, so that was enjoyable and a memory maker for sure. I would love to hear about what crafts you have planned for Valentine’s Day in the comments below!


